

Core
Get your API key
On this page
Use a Personal Access Token for your own scripts, the device flow for CLI sign-in, or OAuth 2.1 for a connector that asks you to approve access in the browser.

Create your key #
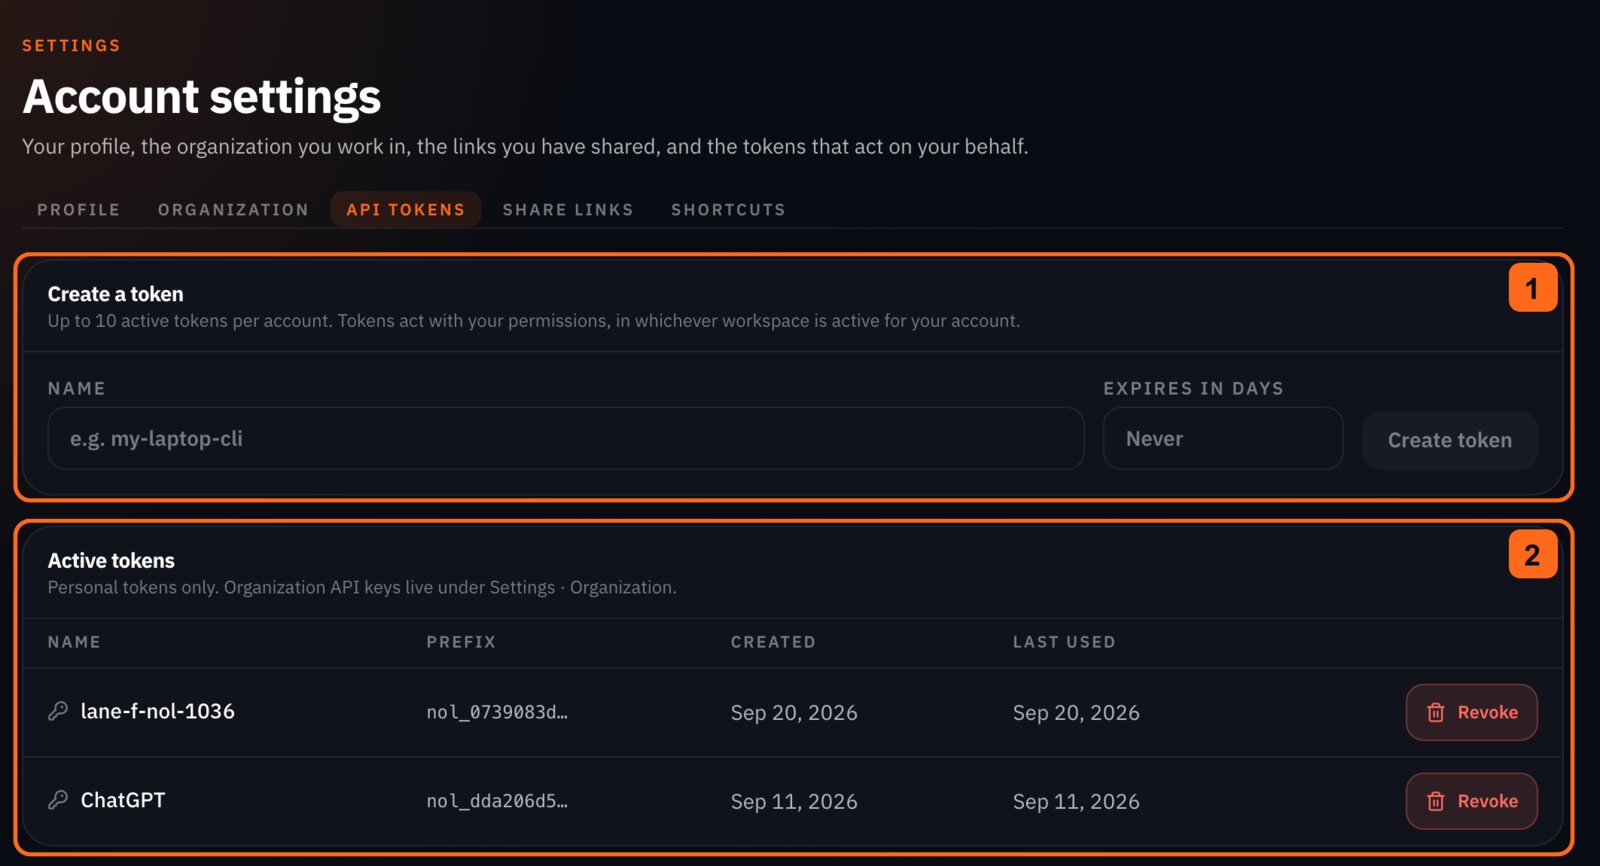
- Open API tokens while signed in.
- Create a Personal Access Token.
- Copy the token once; you will not see its plaintext again.
You can also call POST /pat with your signed-in session JWT, and revoke a token with DELETE /pat/{id}.
Token expiry #
Every new token expires. Set expires_in_days from 1 to 365; leave it out and the token lasts 365 days. GET /pat (and nolgia pat list) shows each token's expires_at. From that moment the token is refused with 401, exactly like a revoked one, so create its replacement first, switch your scripts over, then revoke the old one. An expired token stays in the list until you revoke it, and it no longer counts toward the limit of 10 active tokens.
Tokens created before expiry was introduced (September 2026) show expires_at: null: they have no expiry and keep working. Rotating them is recommended.
Send the token in the Authorization: Bearer nol_… header. A PAT you create spends the credits shown in available_for_api; the token an OAuth connection issues (ChatGPT, Claude or another MCP client) spends like the app, available_for_app. See Billing.
| Field | Type | Required | Description |
|---|---|---|---|
name |
string | Yes | |
expires_in_days |
integer, nullable | No | Lifetime of the token in days from now, 1 to 365. Omitted or null: 365 days. New tokens always expire. |
Set your key #
export NOLGIA_TOKEN=nol_...
$env:NOLGIA_TOKEN="nol_..."
NOLGIA_TOKEN=nol_...
Test your key #
The response is your account; its email field is the address you signed up with.
curl -s https://api.nolgia.ai/v1/me -H "Authorization: Bearer $NOLGIA_TOKEN"
Device flow #
Start with POST /auth/device. You receive device_code, user_code, verification_uri, expires_in, and interval. Open the verification URI in your browser and approve the code while signed in.
Poll POST /auth/device/token with the device code and the same client_id, waiting interval seconds between attempts. The CLI command nolgia auth login does this for you.
| Field | Type | Required | Description |
|---|---|---|---|
device_code |
string | Yes | |
user_code |
string | Yes | |
verification_uri |
string | Yes | |
verification_uri_complete |
string, nullable | No | |
expires_in |
integer | Yes | |
interval |
integer | Yes |
OAuth 2.1 for connectors #
ChatGPT and Claude connectors use dynamic client registration and an authorization-code flow with PKCE. The connector registers a public client, sends you to the browser for consent with an S256 code challenge, then exchanges the code with its matching verifier. Discover the supported endpoints through the authorization server metadata.
A connector's access token appears in your token list and counts toward your active token limit. When you are at the limit, connecting again revokes the least recently used connector token to make room (the same connector's first) instead of failing. Tokens you created yourself are never revoked this way, so if they alone fill the limit, revoke one in Settings first.
A connector's token bills like the app, not like a token you created: it spends your subscription credits first and then your top-up credits. A connector is you using NOLGIA through another assistant, so it reaches the same credits the app does.
| Method | Path | What it does |
|---|---|---|
| GET | /.well-known/oauth-authorization-server |
OAuth 2.0 authorization server metadata (RFC 8414). |
| POST | /oauth/register |
Dynamic client registration for MCP connectors (RFC 7591). |
| GET | /oauth/authorize |
Begin an OAuth 2.1 authorization-code flow (browser redirect). |
| POST | /oauth/token |
Exchange an authorization code or refresh token for an access token. |
| POST | /oauth/revoke |
Revoke an access or refresh token issued to a connector (RFC 7009). |
Organization API keys #
Create a key with POST /organizations/{id}/api-keys as an owner or admin. You receive a nol_ bearer forced into that organization, regardless of your active organization. It carries your current role, stops working when your membership ends, and is never listed on /pat.
See Teams and organizations for the active context and membership rules.
Staging #
Use separate accounts and tokens for production and staging. A token from one environment does not sign you in to the other.
| Environment | Base URL |
|---|---|
| Production | https://api.nolgia.ai/v1 |
| Staging | https://api.stg.nolgia.ai/v1 |
| Local development | http://localhost:8080/v1 |